Aluminum Can Windmill
This project came to me while I was playing games with my brother. I cut up a coke can and drilled a screw into the bottom and found it spun rather well. I thought this would be a perfect project for this project.
Materials - For this project, you will need: 1 aluminum can (soda or other beverage like Monster), scissors, (optional: a small generator).
Materials - For this project, you will need: 1 aluminum can (soda or other beverage like Monster), scissors, (optional: a small generator).
Step 1 - empty and clean your aluminum bottle thoroughly so there isn’t any leftover soda.
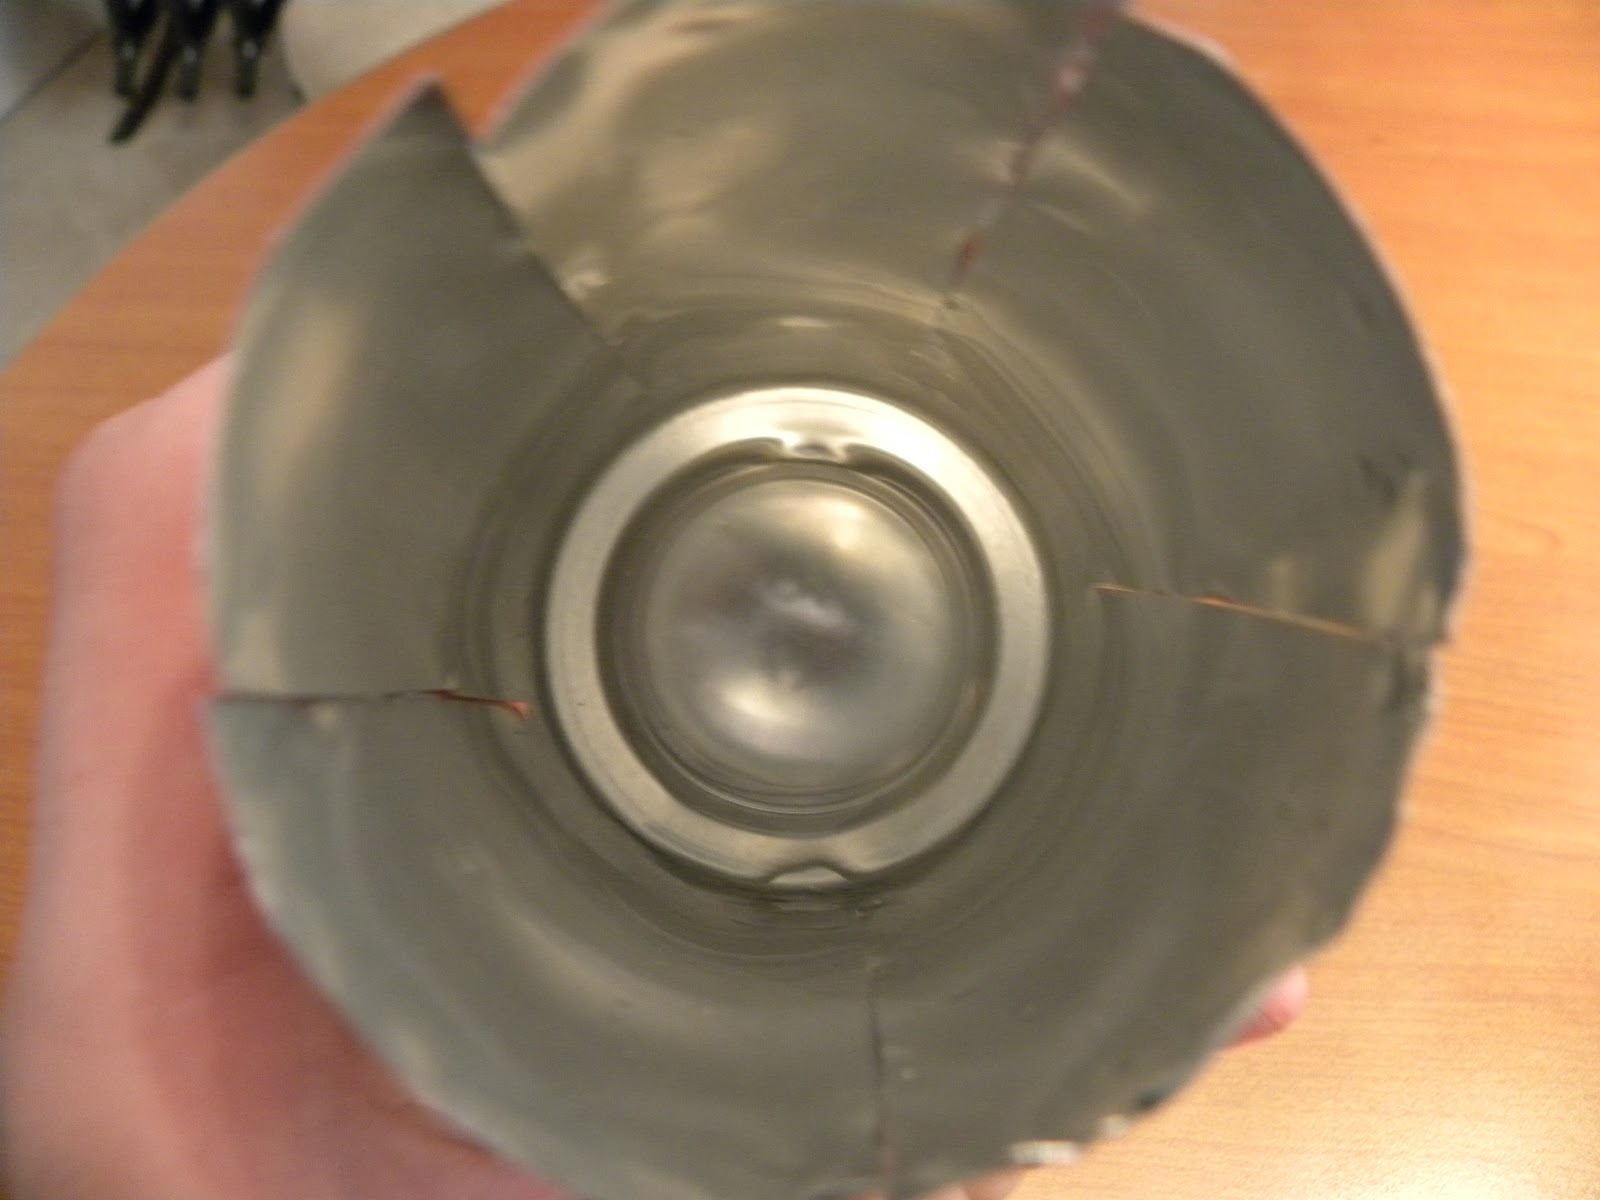
Step 2 - cut the top off. By top, I mean the end of the sloped part near the top of the can. It should be just above the logo on most cans but it varies.


Step 6 - If you have knowledge on building a generator and connecting this to a power source, you could be able to power a light or something of the sort. However, I have neither the tools, nor the knowledge required for such an idea. If you are like me, you can nail the bottom of your windmill to a plank of wood or a stick and voila! You have a cute windmill.
No comments:
Post a Comment