Friday, February 24, 2012

Aluminum Can Artwork


 This project is mainly for the artsy type. You can make many things out using the various colors of aluminum cans. 


Materials - Depending on what you want to make, you will need: A few aluminum cans, scissors, a creative mind, a backing of some kind.

Step 1 - Pick your cans. If you want to do something colorful, you will need different brands of cans. My suggestions for colors are as follows: Red - Coca Cola or Dr Pepper, Blue - Pepsi, Green - Mountain Dew, Yellow - Squirt or Mellow Yellow. You can use other ones, but those are what I would use.

Step 2 - Cut both the top and bottom off. The top and bottom portions are the parts that are sloped. Essentially, cut off everything but the section of the can that has the logo. 

Step 3 - Cut these up into small pieces. My recommendation for a smaller, more intricate piece would be in square centimeters, or if you want to do a big piece, using square inches.

Step 4 - Chose your design and/or pattern and think of how you should layout your pieces.  


Step 5 - Glue down each piece where you want it to be. I advise going section by section instead of row by row. Try leaving a small space in between each piece, like you’re laying tile.

Step 6 - Continue following your design until finished. If you want, paint a glossy vinyl over it for protection. Now you have your own, unique piece of art!


Recycling! Yay!


Aluminum Can Coasters


For this project, you will need: a can (or multiple cans), scissors, a 4.5”x4.5” durable backing (tile works great), felt pads for coaster feet, silicon coating, paper towels, and something big and heavy (like a dictionary).


Step 1 - Empty and clean your aluminum bottle thoroughly so there isn’t any leftover soda.

Step 2 - Cut both the top and bottom off. The top and bottom portions are the parts that are sloped. Essentially, cut everything off but a 4” x 4” area with the logo. 

Step 3 - Next, apply silicon pretty liberally to the back of the aluminum cutout. Place the cutout on the tile. Push on the aluminum and try to flatten it out. Attempt to achieve a nice, even spread throughout the entire material. After this, you can put a paper towel over the aluminum and put the dictionary over it all and leave it for a while to keep it flat while it dries.


Step 4 - Once the Silicon dries, take the dictionary and whatever else you have off of the coaster. I advise you wipe a protective, glossy vinyl over it. This will protect both your hard work and you from sharp edges. 

Step 5 - Enjoy your new coaster.


Aluminum Can Windmill


Aluminum Can Windmill
This project came to me while I was playing games with my brother. I cut up a coke can and drilled a screw into the bottom and found it spun rather well. I thought this would be a perfect project for this project. 


Materials - For this project, you will need: 1 aluminum can (soda or other beverage like Monster), scissors, (optional: a small generator).

Step 1 - empty and clean your aluminum bottle thoroughly so there isn’t any leftover soda.

Step 2 - cut the top off. By top, I mean the end of the sloped part near the top of the can. It should be just above the logo on most cans but it varies. 
Step 3 - Cut from the new top down leaving approximately an inch as a base. Continue this until you have cut four lines dividing the can into five equal strips. 
Step 4 - Bend the five parts down until they reach a 90 degree angle with the rest of the can
Step 5 - Twist the parts so they form more of a wing shape instead of just flat panels. This will help with catching wind and directing the blades.


Step 6 - If you have knowledge on building a generator and connecting this to a power source, you could be able to power a light or something of the sort. However, I have neither the tools, nor the knowledge required for such an idea. If you are like me, you can nail the bottom of your windmill to a plank of wood or a stick and voila! You have a cute windmill.


Wine Bottle Cups


Glass Bottle Cups
These are relatively easy to make and useful too.


Materials - Glass bottles, glass cutting kit, a heat source and glass finishing/sanding materials.

Step 1 - selecting a glass bottle that you want to use. Clean the labels off of it so you can get a clean score around the entire bottle. Decide how tall you want your cup to be.

Step 2 - Score a line the entire way around the bottle at the desired level. Keep in mind that the better the score, the easier it will be to separate the top and bottom. 

Step 3 - This step was tricky for me. I used a candle to heat the score, then used cold water to thermally shock the glass. Another way was suggested to me by my friend, who said that if you take a string and dip it in kerosene, tie the string tight around the score line and light it. After the glass makes a pop sound, all you have to do is tap it and it should fall off cleanly. However, I cannot validate this and would advise extreme caution when attempting this.


Step 4 - Sand down the edges using fine sand paper or glass finishing materials. This will insure that you don’t cut yourself when drinking from your new glasses. 


Note: You can keep the top half for another one of my projects!

The Pop-Tab Messenger Bag


Messenger Bag

Materials -  100 yards of green and black durable/plastic ‘wire’, at least 1000 pop tabs (maybe more depending on size).


This project is a fun one. I figured I could use a messenger bag since I am one of the only people in my class that can’t drive yet and so I need a bike-friendly pack. If you’re like me, or you just want to bike with your things, this project should be a good one for you. 


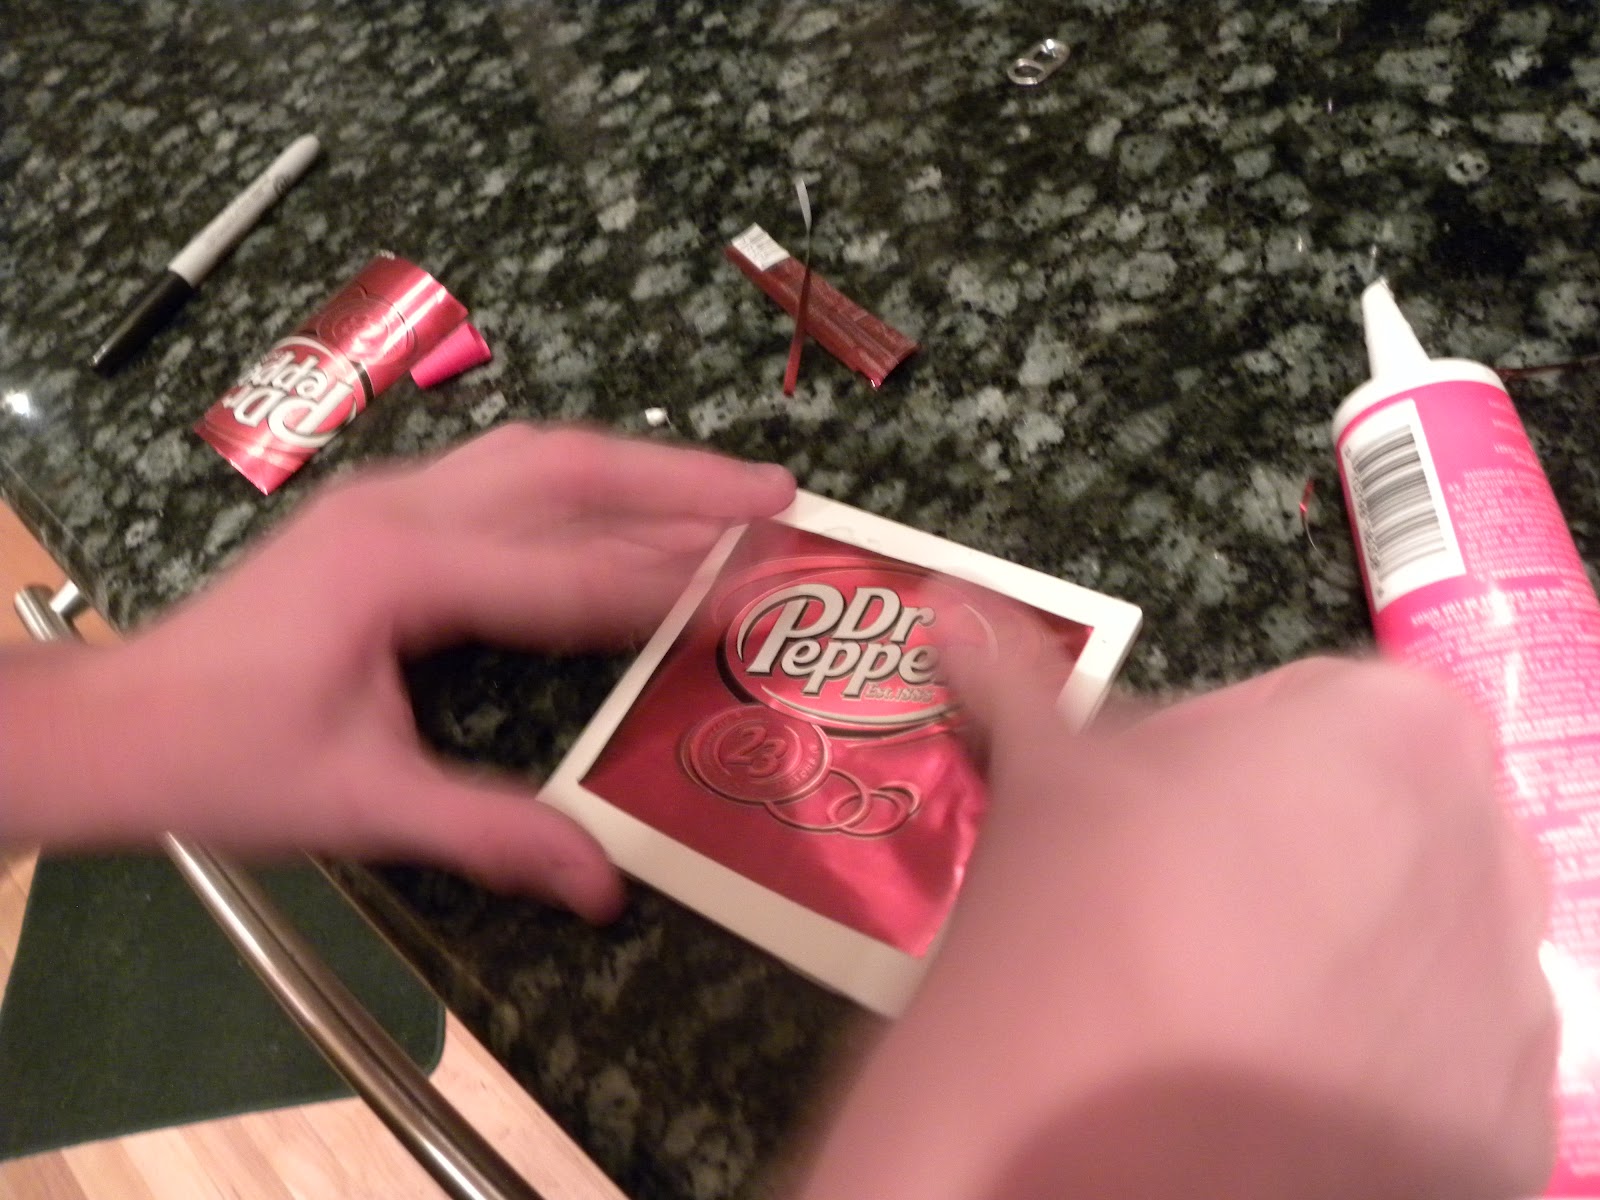
Step 1 - Start out by cleaning you tabs. To do this, I used a colander to hold the tabs while I sprayed water over them. This step gets all of the stickiness off the tabs and washes the dirt and grime off so they look shinier. 

Step 2 - Next, get your wire out. I’m using green wire as my main wire because every day for two years, I have worn green and it is now one of my favorite colors. I cut my line a little over a yard long, just to be safe.              

Step 3 - Start out by looping your wire around your first pop tab and pull half of the line through both sides. The easiest way to do this is by folding the line in half and pulling the line through and using your hand, following the tab down until it reaches the end. 
Step 4 - Next, take another pop tab and position it upside down from the first one.  Place the ends of your line and thread them through so they cross over and into the second tab. After you put them through the second tab, drop the line down through the first pop tab.
Step 5 -Place another tab next to the top one and bring the two lines straight across from where they came down it thread them up through the other side of the bottom tab and the farthest left side of the second top tab.
Step 6 - Cross over the second tab and thread it down through a new second tab on the bottom. Repeat 3-6 until you get to the desired length.
***NOTE*** 
When you make your long side (the side you will use as the main side) make sure the top taps are in an equal number. This will make your life so much easier. I didn’t realize that I had made strips with odd numbers until it was too late to go back and undo them all. 

Step 7 - After you get all of your strips, you can stitch them together by going from the bottom of the top row, to the top of the bottom row. 


Step 8 - To finish the project, you have to continue creating lines until you reach a desired length and width for every side. The way you 'sew' these together is by starting at the top left of one corner and working from the left to the right and crossing down to get to the new left. Attach the three sides to one main side and then attach the last back part. Because I wasn't able to finish the project in time for the Personal Project deadline, I promise any readers interested in this project that I will complete this at a later date and post pictures of both the process and outcome.

Time Working on Project
December
17 - gathered resources, about an hour and a half to find everything
18 - started project, spent about 3 and a half hours working on the front plate
19 - hardly worked on it. Spent maybe 15 minutes on it
20 - started getting the hang of it, put about 3 hours towards the front plate.
21 - Another 2 hours of work, finally got 11 rows down the front plate. 
22- decided to work for 30 minutes on the bottom, went with six on top
23 - 2 hours of work, tied together the plate
24 - decided that it wasn’t wide enough, took it apart, started working on a plate with 7 on top (total of 15 per chain)  spent about 2 and a half hours working on it